top of page
AF1 EXPLORATION


A
B
C
D
E
A

C


B

D

E


Scaling the 3D scanned AF1 shoe to fit the running "last."

Using tools in Rhino, outline the base and bite line of the cupsole making sure to align the split lateral medial sides down the angular center isocurve.

Average the top view medial lateral outlines and the curves from the side views to make curves to flow surfaces along.
Use environmental analysis tools and simple renders in Rhino to check the continuity in surfaces and curves.

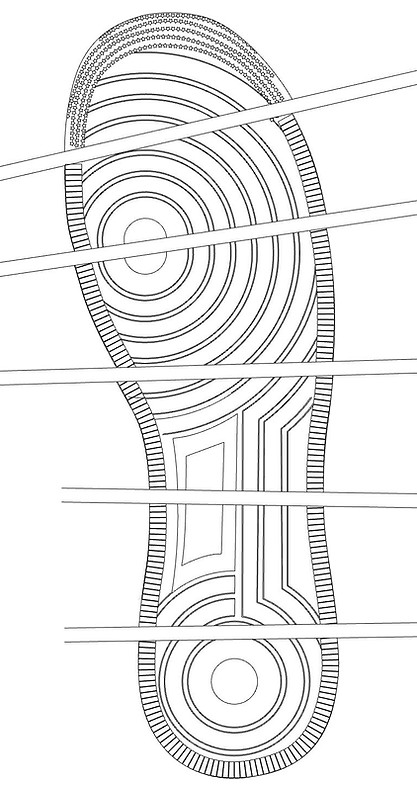
Project patterns and textures for application using extrusion and splitting tools

Make patterns and tread texture on a flat copy of the bottom surface, then curve along the surface to apply it to the sole.


bottom of page